CREATING AND MAINTAINING AN EDUCATIONAL WEBSITE USING GOOGLE-SITES
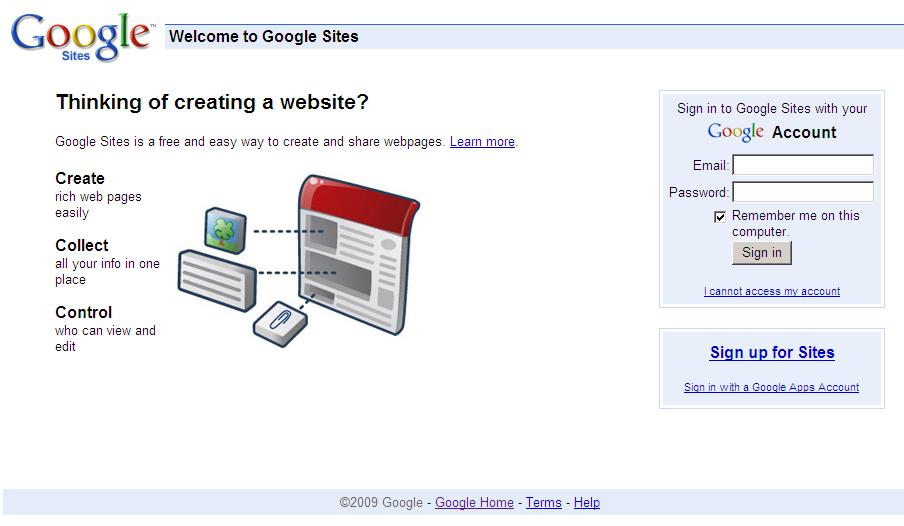
1.- To use the free web site creation tool Google-Sites, you need to get a USERNAME and PASSWORD authorization from Google. This is accomplished by going to either the GMail, or the Google-Sites pages, and registering (free).
2.- Once registered, you can log into the Google-Sites service, using your Username (GMAIL address), and Password.
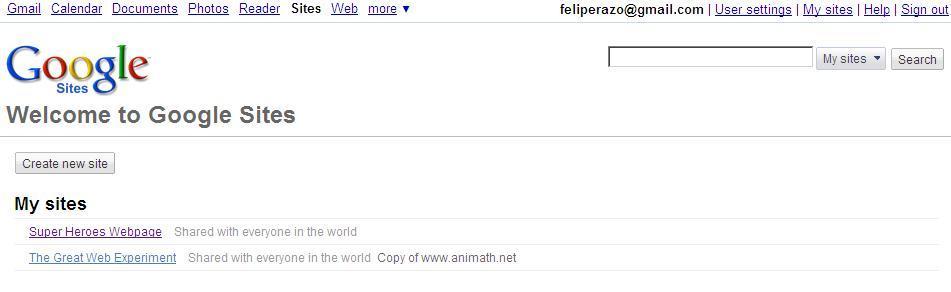
3.- The Welcome to Google Sites page will display the current collection of sites already created, and a button to create new ones. The first time the collection will be empty, and a new site need to be created.
4.- When selecting to "Create new site" you will be presented with the general information and template selection page below. FOR THE PURPOSES OF THE CLASS, CHOOSE THE "Classroom site" TEMPLATE. Templates are very helpful as they sample and facilitate learning through a nice finished product. Make sure to "Name your site" with short, simple, but clear and descriptive words for easy reference. Also, take note of the URL that is shown ("Your site will be located at this URL"), as THIS WILL BE THE URL NEEDED BY STUDENTS AND OTHERS TO ACCESS YOUR PAGES OVER THE INTERNET:
4.- The first, main page created is the "Home" page (called here the "landing page") and will be the one appearing by default each time the URL for this site is invoked. To make changes to the page to fit your needs, press the "Edit page" button at the right top. PLEASE EXPLORE -PATIENTLY- THE MANY RICH OPTIONS AVAILABLE.
A desirable option for a first visit would be using one of the available, ready-made templates. Templates are good as they include many possible items to consider for our needs. The Classroom site template does contain many useful items for our purposes, and could be chosen for a preliminary investigation. Templates, on the other hand usually carry more items than specifically needed in a site, and therefore, might require a lot of initial cleanup work. The Classroom site, for example, contains a series of "Announcement" blocks in the landing page which you might want to get rid of. To delete these blocks, just click on them to select each one, and then press the delete key.
The Classroom site template also includes a left bar which can be thoroughly edited using the "Edit left bar" option at the bottom (link).
Good luck, lots of patience, and please keep any possible explosions of joy, or swearing to a minimum, and private.
When finished making changes, use the "Save" button to store, and the new page will be automatically updated (Published) at your live site.
To add pages to the site, press the "Create page" button.
To make general site-related changes use the "More actions" > "Manage site" and "Site contents", "Site settings", or "Site appearance" options.
To rename or delete a site, use the > "General" option of the settings submenu.
5.- For class (TED5110) purposes, a HOME (portal) webpage and AT LEAST ONE ADDITIONAL CONTENT WEBPAGE (lower level, secondary) should be created - Use the +NEW PAGE option. The following functionality is to be included:
NOTE: If wishing to remove the visibility of borders of tables, you can select the table, and request the HTML option (yellow pencil) of the EDIT menu. This will allow for direct change to the HTML statement containing the "border" statement. In the case below, at the end, "border=1" should be changed to "border=0". The "Update" button should be pushed last.
<TABLE style="BORDER-TOP-WIDTH: 1px; BORDER-LEFT-WIDTH: 1px; BORDER-LEFT-COLOR: #888; BORDER-BOTTOM-WIDTH: 1px; BORDER-BOTTOM-COLOR: #888; BORDER-TOP-COLOR: #888; BORDER-COLLAPSE: collapse; BORDER-RIGHT-WIDTH: 1px; BORDER-RIGHT-COLOR: #888" borderColor=#888 cellSpacing=0 border=1>