Build an MS Access 2007 “Student Data Base”

  1. Open the MS Access 2007 program
  2. When at the "Getting Started with Microsoft Office Access" page, select the Local Templates option on the Template Categories left column.
  3. Once the middle selection information is filled with Local Template categories, select the Student option. When the right column allows it, enter/change a chosen the name for data base, leaving the ".accdb" extension untouched. Then push the Create button.
  4. When finished creating the database for you, MS Access will begin the editing process by displaying a Student List window, and a Navigation Pane on the left side.
  5. Press the ">>" button at the top of the Navigation Pane bar, and a list of various, default provided data base tables, forms and reports available for editing (Students, Guardians, Supporting Objects) will appear.
  6. Double-click on any of the available tables, forms and reports desired for edit/change, and an expanded view of the current object will appear
  7. Click on the desired edit type View / Views button on the Home or Design toolbar option tabs at the top of the page, to begin editing objects.
  8. As necessary, click on any of the many other database design and functionality editing choices available on the toolbar option tabs at the top of the page.

To begin the collection of actual student data, click on the Student Details option of the navigation bar, and fill in corresponding information. For the purposes of the class exercise, Enter basic data for some 3 students.

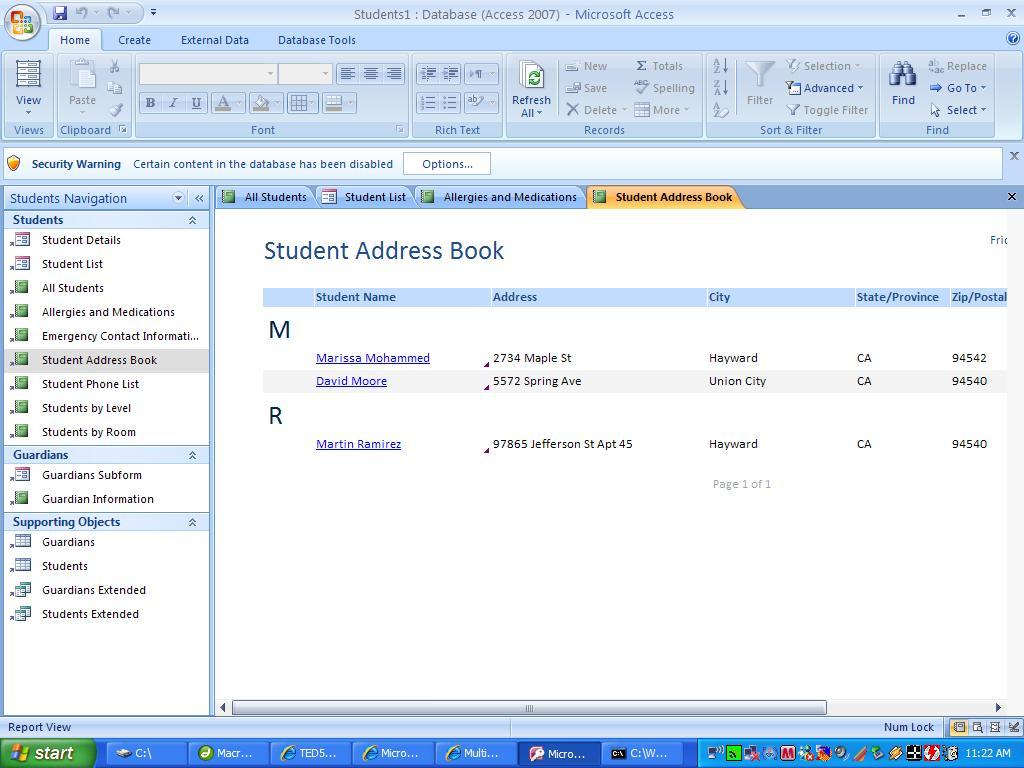
  1. When finished collecting data for the 3 students, click on the Student Address Book option of the navigation bar, and an alphabetically ordered report of the students will appear.

    TO CREATE AN IMAGE FILE TO SUBMIT TO THE INSTRUCTOR FOR THIS ASSIGNMENT:
  1. Snap the image of the screen (press the SHIFT and PRINT SCREEN keys of the keyboard simultaneously). This will save the image of the screen on the machine's clipboard memory.
  2. Open the MS Paint program, and PASTE the clipboard image on the canvas.  Use the FILE SAVE-AS pull-down menu option of PAINT to save the image on the DESKTOP, with a COMPRESSED FORMAT such as JPG or GIF (see sample below), using your name to create the standard file name (such as "RNakamoto#7c").
  3. Email the file to the instructor and yourself (a SAFE COPY), Delete the desktop file created.